
We can help you find the software you are looking for. Surely you came to our site to find out “automatic photo background changer software free download for pc”… No problem, today we will discuss with you the software you need. This article will list the names of the software you need… So let us now know which software can be used to change the background of the photo.
Many people nowadays use smartphones and selfies or different types of pictures can be taken on these smartphones. We use these pictures for different purposes at different times and with these pictures, we can create photo albums. When we take a picture, we find that there are a lot of unwanted things in the picture that we want to remove from the picture, then we need the automatic photo background changer software.
Automatic Photo Background Changer software allows you to easily change the background of your photo. With this software, you can see that your photo background has been removed just after uploading the photo. If you want to change the background of your photo, you can easily change the background photo using Filmora Wondershare, Adobe, KineMaster, and other apps.
Best 4 Automatic photo background changer software free download for pc
At present, there is software available that allows you to automatically change your picture background. Now I will tell you the names of some of the software. Using any one of these you can automatically change the background of your photo. In this digital age, it is very easy to change the background of your photo. You can change the background of your favorite photo using this software anytime you want.
Now you can put the background image of your choice there.
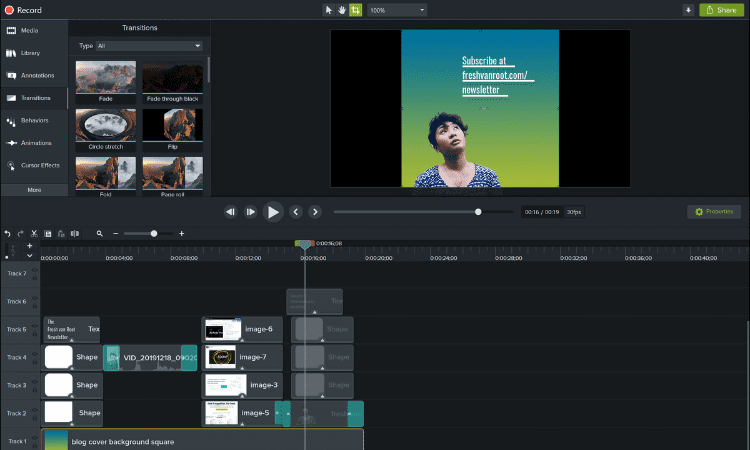
Filmora Wondershare
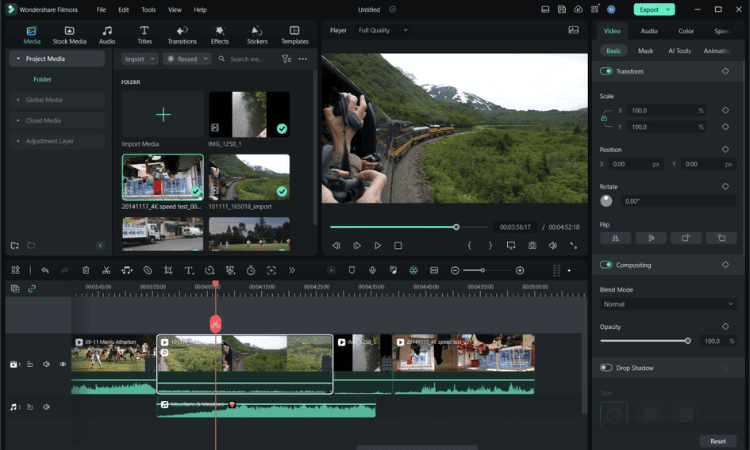
FilmoraWondershare is one of the best photo editing or video editing software in the world. With these apps you can easily edit any type of video and change the background of your favorite photo.
Camtasia Studio

One of the best software to change the background of a photo or any kind of video editing is Camtasia Studio. This software is very easy to use and it is very useful for editing videos and adding music to videos.
Adobe

It is very difficult to find people who do not know the name of Adobe software because everyone who works with photo editing or video editing uses Adobe software.
KineMaster
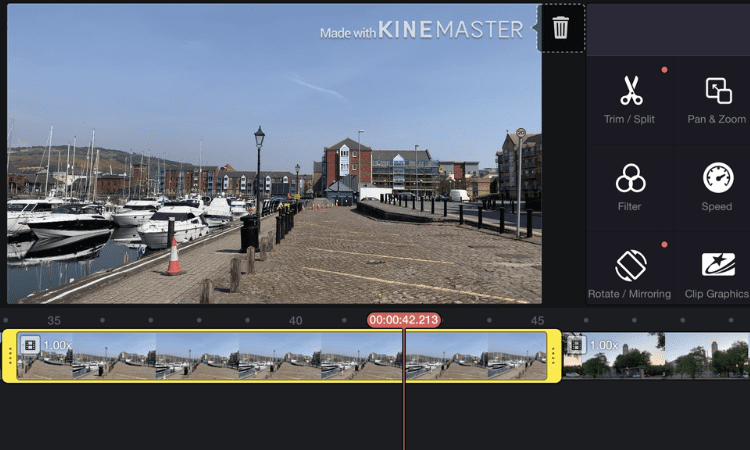
Kinemaster Video Editing Software is very simple and easy to use. Video editing can be done very quickly and the background of the image can be changed. You can use this software if you want.
How to make an old photo effect in Photoshop?
Adobe Photoshop is one of those editing programs with which we can do practically anything. In today’s tutorial, we will show you how to take any image and retouch it with an old photo effect in Photoshop until it looks like it was taken more than 50 years ago. Are you ready? So let’s go!
Step-by-step process in Photoshop
To carry out this tutorial we have opted for an image of deep America taken from the television series Supernatural. Although the temporality is from the 2000s, the aesthetics of the gas station in the photo is very retro and we thought it was a great choice.
1st Step
We start by going to Image> Adjustments> Match color. The most interesting parameters to modify here are Luminance, Color intensity, and activate Neutralize. The goal is to soften the contrast and slightly desaturate the image.
In Image> Adjustments> Photo filter we add the Sepia filter and modify its density until it seems to us that it has a less intense aspect but without being evident.
Then you have to take a look at Image> Adjustments> Color balance and modify some percentages.
Normally we tend to reduce blues and enhance reds and yellows, although we must also tell you that it depends on what you are looking for.
Next, in Image> Adjustments> Shadows / Highlights, we will reduce the amount of light and shadows to give the photo that slight layer of low contrast. An alternative is in Image> Adjustments> Brightness / Contrast, although the difference is that it affects the tone more aggressively.
2nd Steps
Now it is time for some other modifications such as Image> Adjustments> Equalize, Filter> Noise> Dust and scratches or Filter> Noise> Add noise. All these options help us to add nuances and gradually destroy the image quality depending on how intense or subtle we want the effect to be. In each of them, you can find regulators with which to modify it.
So far, this is the view we have of the original image. The light has become more diffuse, has lost quality, and has gained a discolored hue accompanied by a slight noise.
However, the final touch comes from the hand of a paper texture that we have downloaded from the internet.
Here we are interested in having a resolution and dimensions similar to our photo since we want to extract as many details as possible from it.
The paper we have chosen is worn and has many marks, and although the parchment color it presents seems quite opportune, the truth is that it would darken the treatment we have given to our original photo too much.
Therefore, we start by right-clicking on its layer and rasterizing it before going to Image> Adjustments> Black and white and then with Image> Adjustments> Brightness and contrast to increase the presence and visibility of imperfections in the paper.
With all these tweaks, we modify the qualities of the layer and set it to Multiply. You may also be interested in changing its opacity or filling property, although we also warn you that all these changes will have a different effect depending on which photograph you are treating and the final finish you want to obtain.
Here we show you a final comparison between the original and the modified version. We have tried to achieve a vintage style reminiscent of a faded photograph from the 50s or 60s. What do you think?
Last words
We hope you like this article. If you like it, you can let us know in the comments, and if you have more information about the photo background changer software, please let us know. You can also bookmark our site. Thank you.


